                                    <img class="img-circle" style="height:100px;width:100px" src="../../Content/user/02.jpg" />

                                </div>
                            </div>
                            <div class="col-md-4"></div>


                        </div>
                        <br />
                        <div class="row">
                            <div class="col-sm-12 col-md-10  col-md-offset-1 ">
                                <span class="alert-danger">{{Message}}</span>
                                <div class="form-group">
                                    <div class="input-group">
                                        <span class="input-group-addon">
                                            <i class="fa fa-user">User Name</i>
                                        </span>
                                        <input class="form-control txtheight" placeholder="Username" id="UserName" ng-model="UserName" name="UserName" type="text" autofocus>
                                    </div>
                                </div>
                                <br />

                                <div class="form-group">
                                    <div class="input-group">
                                        <span class="input-group-addon">
                                            <i class="fa fa-lock">Password</i>
                                        </span>
                                        <input class="form-control txtheight" placeholder="Password" id="Password" ng-model="Password" name="Password" type="password" value="">
                                    </div>
                                </div>
                                <br />
                                <div class="form-group">
                                    <input type="button" ng-click="login()" id="loginclick" class="btn btn-lg btn-primary btn-block" value="Sign in">
                                </div>
                            </div>
                        </div>
                    </fieldset>
                </form>
            </div>
        </div>
    </div>
</div>
Now, create loginController.js Controller for login screen.
uiroute.controller('LoginController', function ($scope, $state) {
$scope.login=function()
{
	if ($scope.UserName === '' || $scope.UserName == undefined)
	{
		$scope.Message = "Username is empty"
		return;
	}
	if ($scope.Password === '' || $scope.Password == undefined) {
		$scope.Message = "Password is empty"
		return;
	}
	if ($scope.UserName.toUpperCase() == 'MANAGER')
	{
		if($scope.Password=='1')
		{
			$state.go('manager')
		}
	}
	else if ($scope.UserName.toUpperCase() == 'EMPLOYEE') {
		if ($scope.Password == '1') {
			$state.go('employee')
		}
	}
	else
	{
		$scope.Message = "Username or Password is empty"
	}
}
});
Here, I am done with validation and hard code for login users. I have defined the two different roles.
- Manager : Username is “manager” and password is “1”.
- Employee : Username is “employee” and password is “1”.
Step 4
Create the "Manager Home" screen in “Manager” folder with the file name home.html
Then, create Employee Home Screen in “Employee” folder's home.html
Employee Home
View
Logout
Step 5
When setting up states with UI-Route, we inject $stateProvider from the UI-Route module and set up the “/login” and set as default. Don’t forget to link in _layout.cshtml.
uiroute.config(function ($stateProvider, $urlRouterProvider){
$urlRouterProvider.otherwise('/login');
$stateProvider
// State managing
.state('login', {
url: '/login',
templateUrl: '/App/Test/login.html',
controller: 'LoginController'
})
//Manager Role
.state('manager', {
url: '/manager',
templateUrl: '/App/Manager/home.html'
})
.state('manager.list', {
url: '/list',
templateUrl: '/App/Test/dataList.html',
controller: 'CarController'
})
//Manager Role
.state('employee', {
url: '/employee',
templateUrl: '/App/Employee/home.html'
})
.state('employee.list', {
url: '/list',
templateUrl: '/App/Test/homelist.html',
controller: function ($scope) {
$scope.Language = ['C#', 'VB', 'JavaScript', 'PHP'];
}
});
});
Step 6
Run the project or click (F5). Application will open in your default browser. 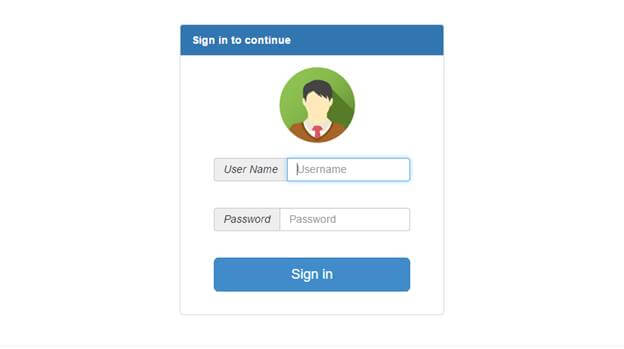 First, enter the manager role’s username & password.
 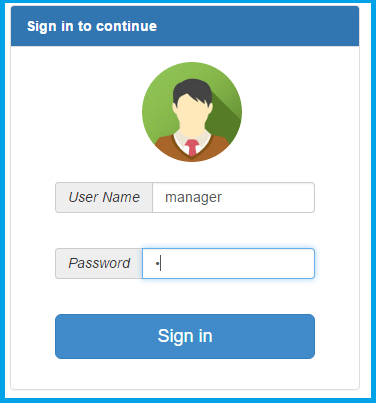 Home screen opens based on manager’s details. If we click the view button, it opens one more View in the manage state.
 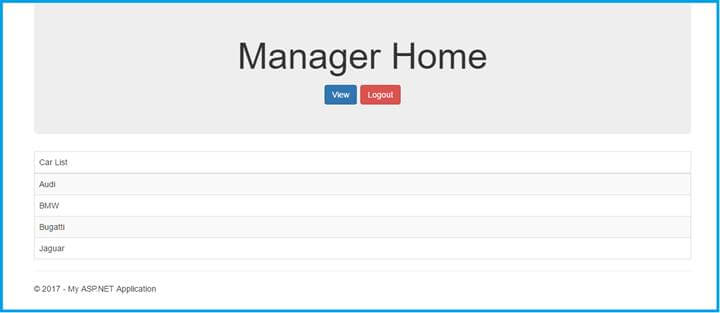 Click Logout button. It automatically goes to default login View. Now, let's enter the employee role’s Username and password.
 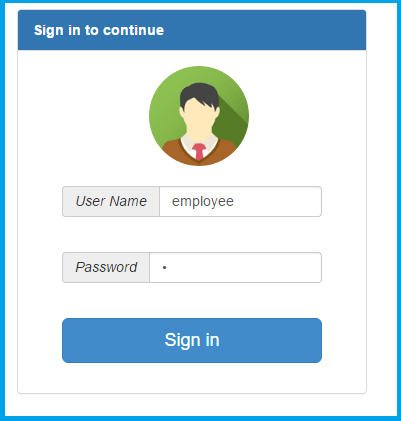 Now, employee screen will appear. Click the View button and it will show the list of languages.
 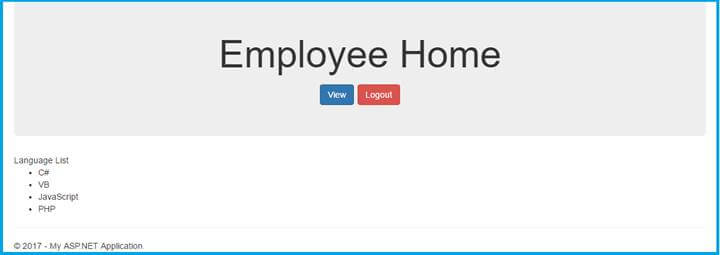 This sample article will be helpful for your role based login in Angular JS application. Conclusion In this article, we have seen MVC using Angular UI-Route role based login. If you have any query, please ask me in comments section. Happy Coding.
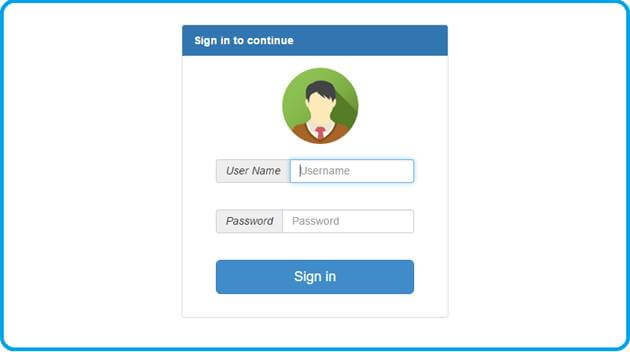
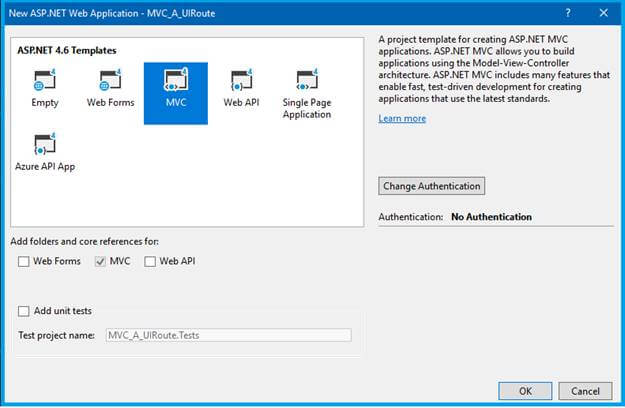
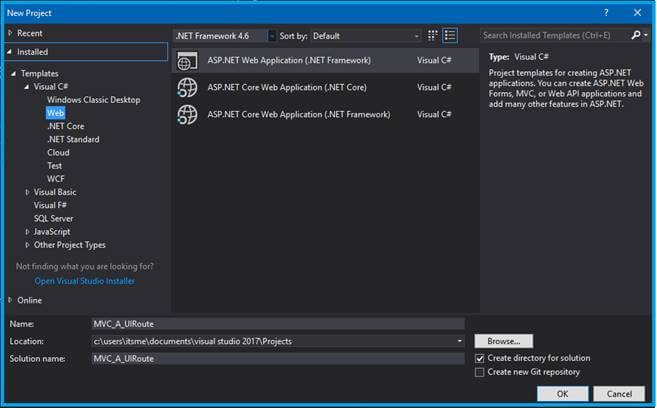 Select web template under the ASP.NET Web Application Framework. Now, opens a popup; choose MVC Templates for our application.
  Once the project is created in solution explorer, it will open like the picture below.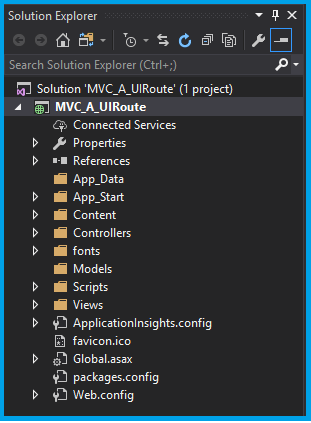
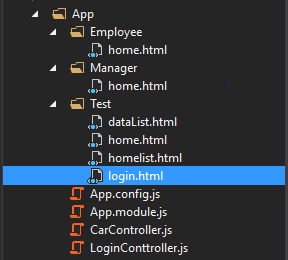 Create a new folder in Solution Explorer, name it as “App”, and create user role based folders (Manager & Employee). Create the required HTML and JavaScript files named as shown in the picture. Here, I am using UI-Route for Angular login, because UI-Route can maintain the “State” of application. If you want to learn about Angular UI-Route, click here.